I’ve seen it called by different names, a quilt box, quilt board, a moisture quilt – but they all are the same thing, a box that absorbs moisture from the hive so that it doesn’t drip down on the bees and vents the moisture out holes.
Rusty on her blog, The “Honey Bee Suite” had a nice tutorial. So does the The Bee Vlog video #130 found on YouTube – I’ve adapted my design, providing more spacing under the burlap so that I can use the Mountain Camp method of adding dry sugar to the hive in the winter – providing dry sugar feeding and extra moisture absorption.
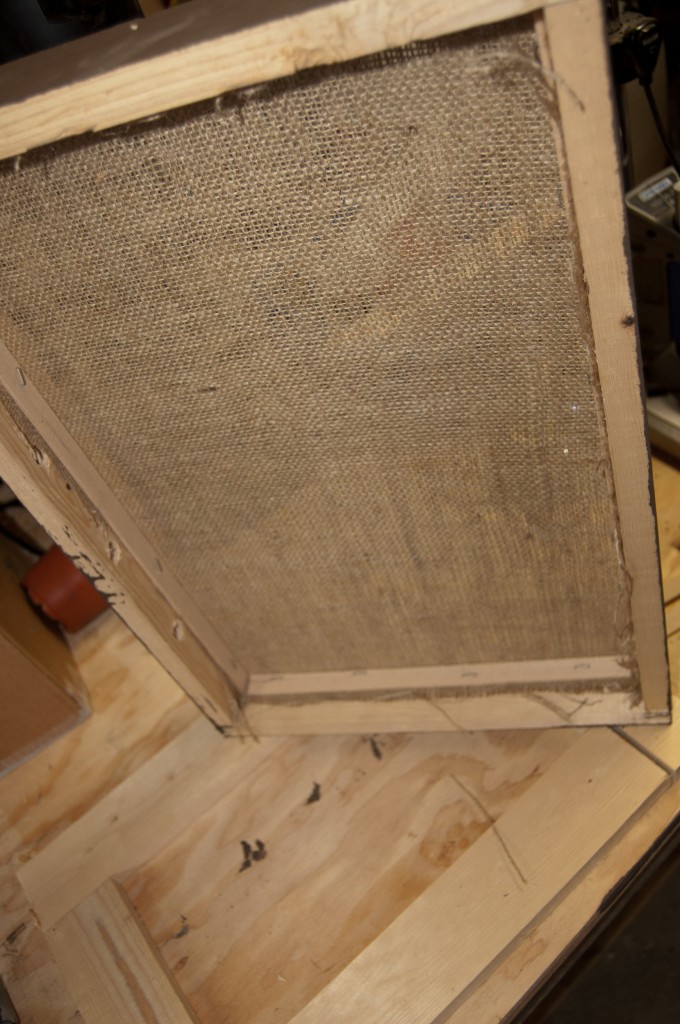
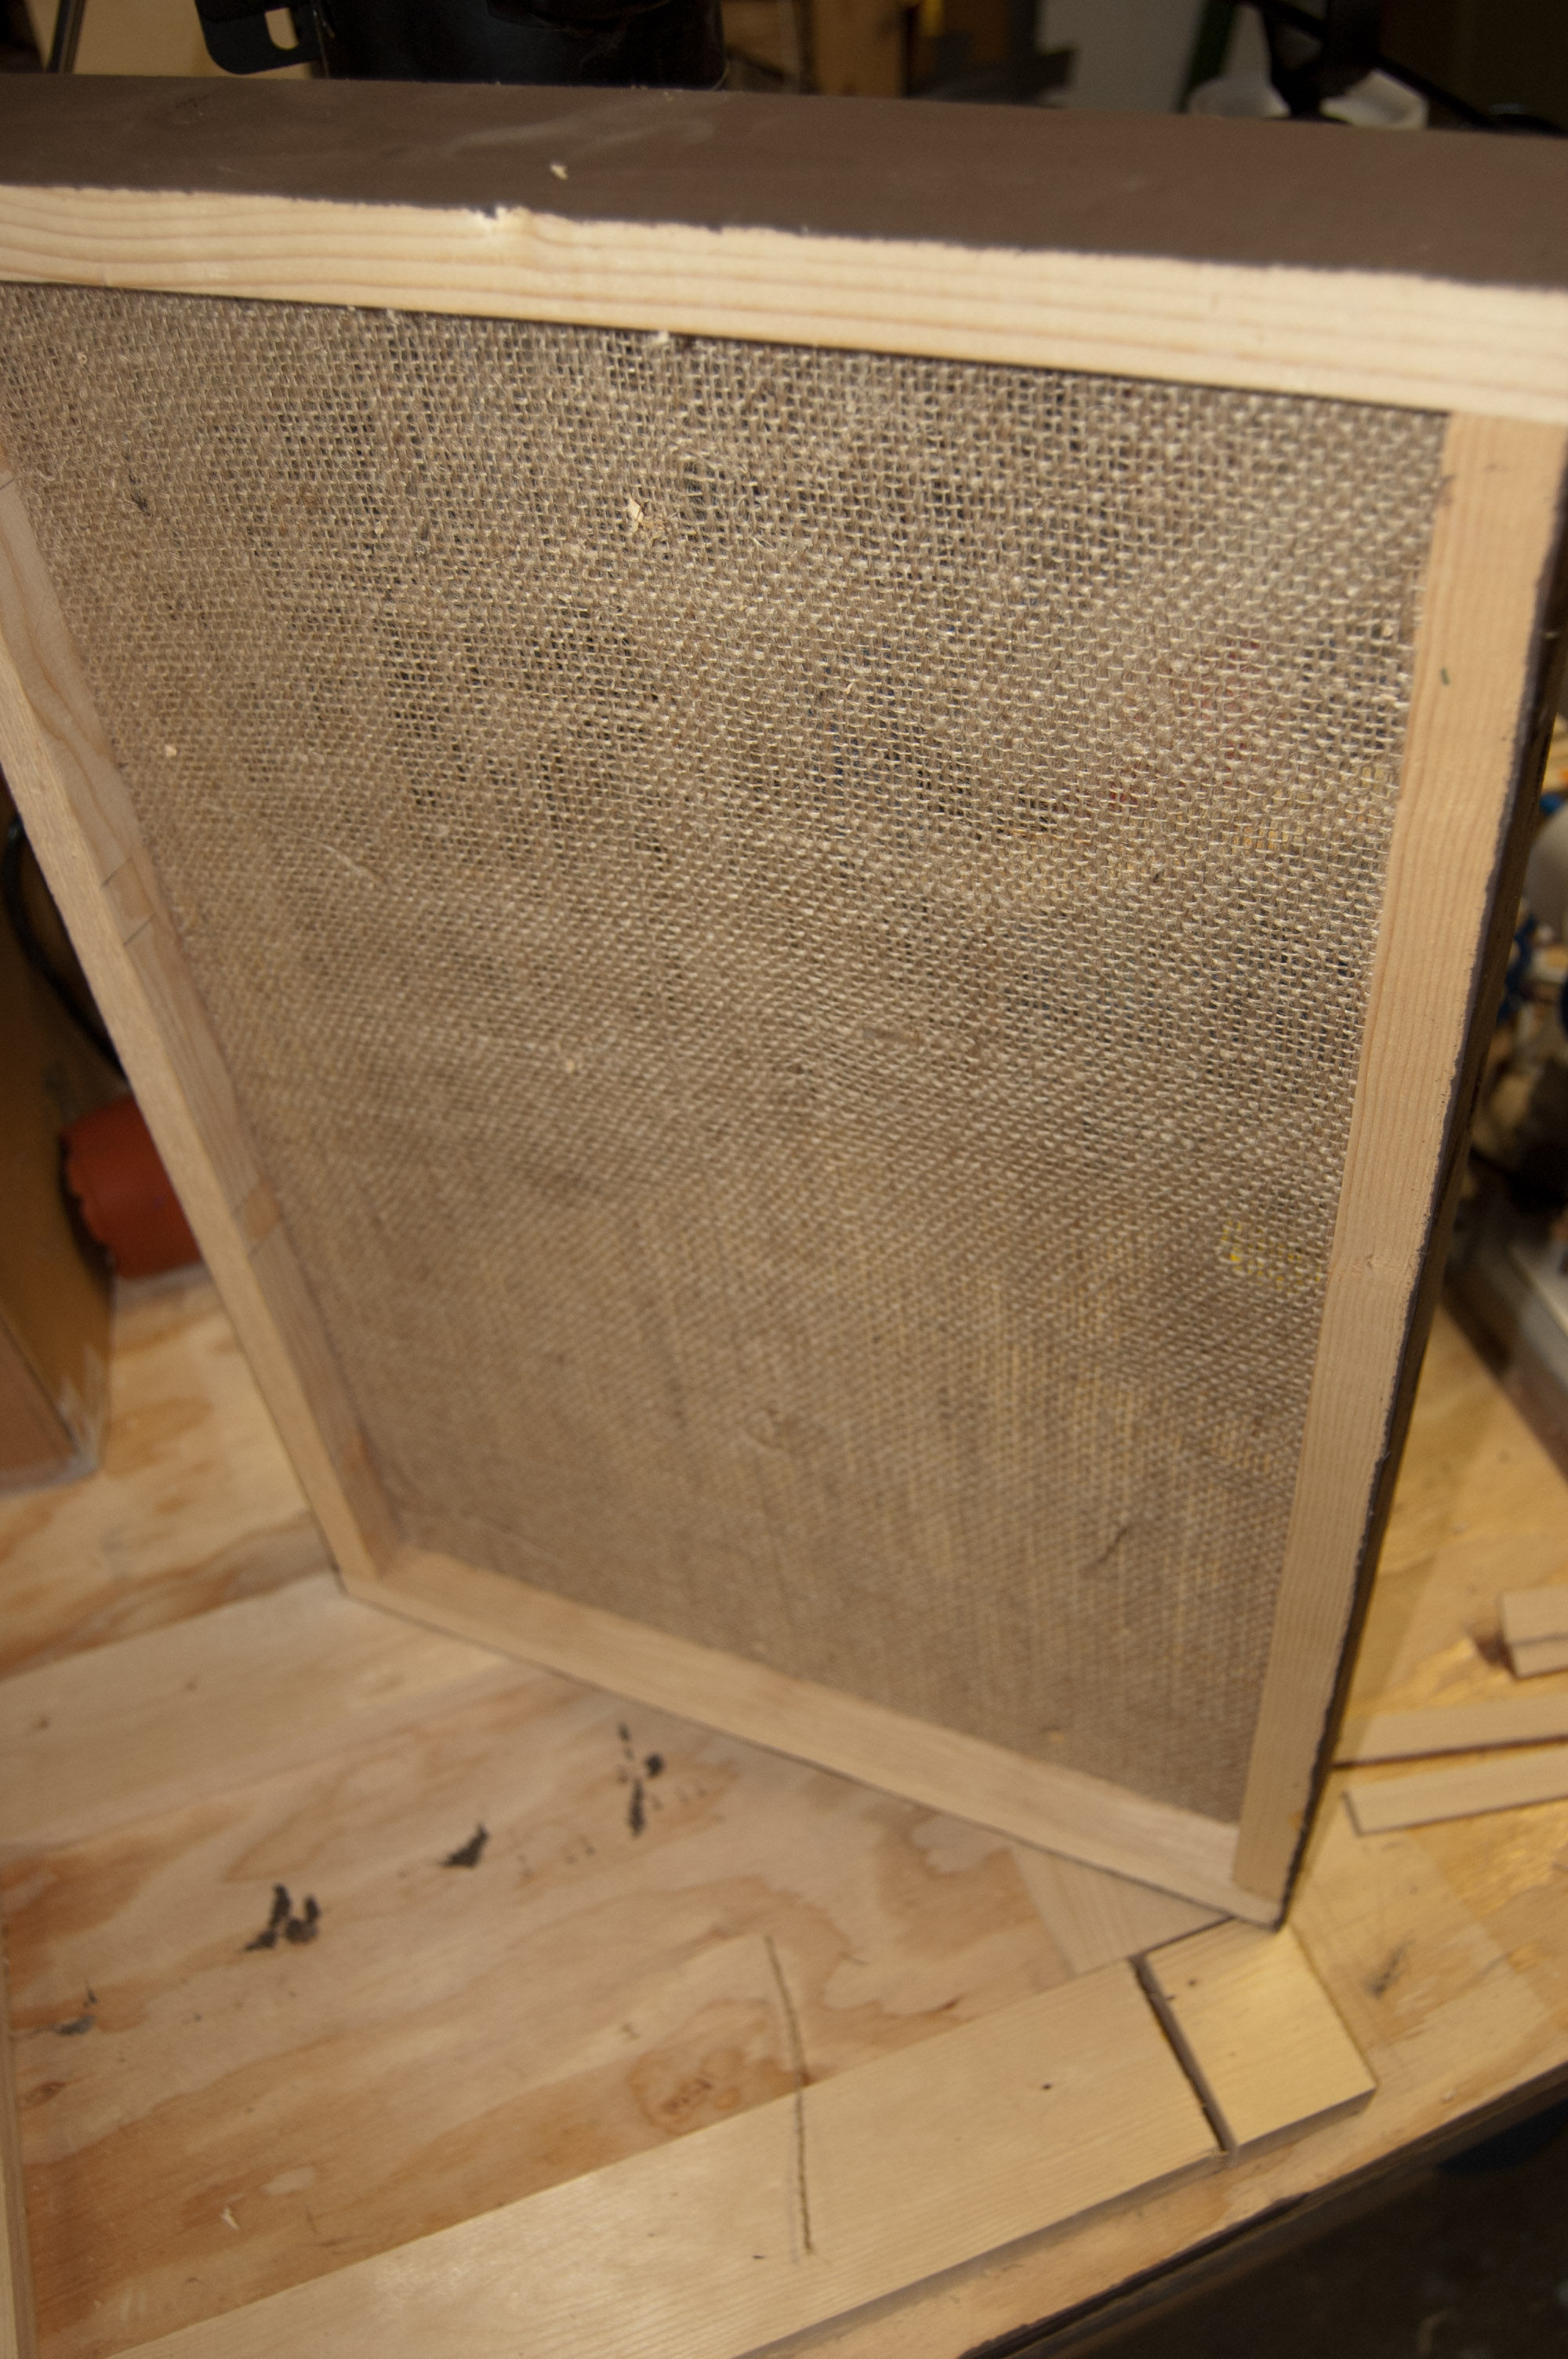
I’m also using burlap – others have used canvas and even screen like that used for window and door screens. I’m experimenting a bit here with the burlap but might switch to screen.
Purchase an 8 foot long 1″ x 3″ dimensional timber from any lumber supply. That gives you an 8 foot piece of wood that is actually 3/4″ x 2 1/2″
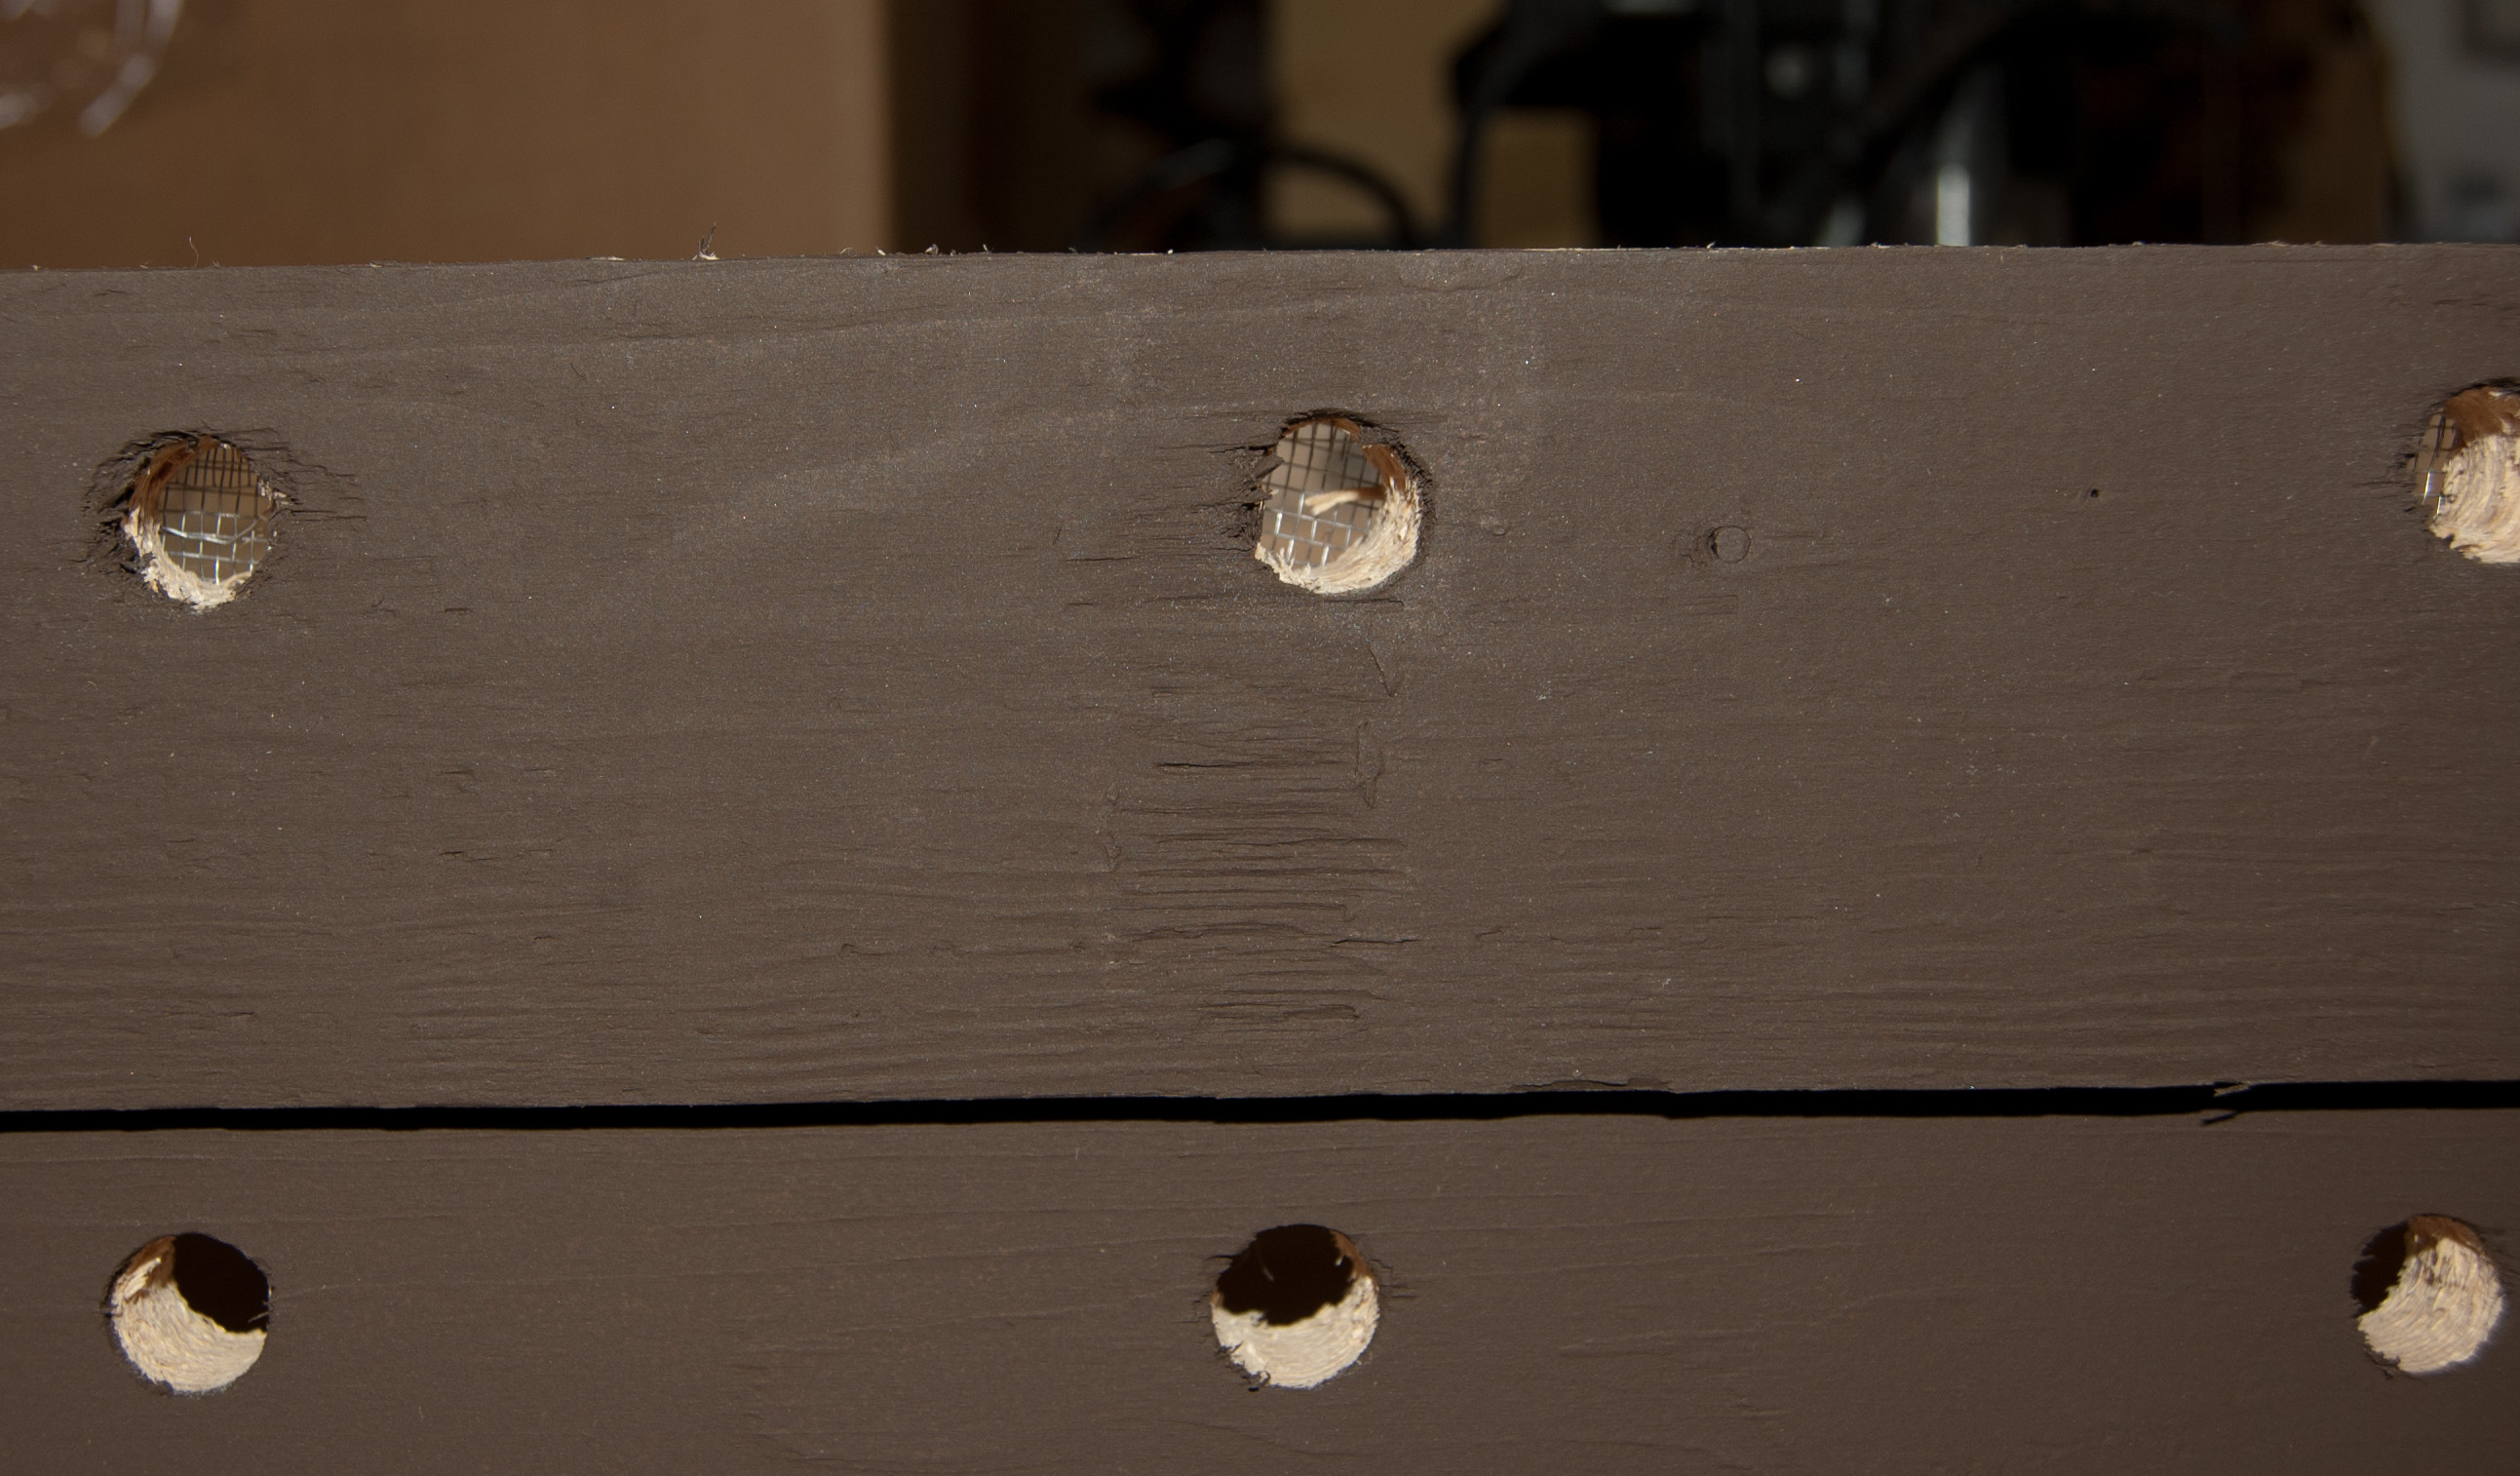
I run 8 frame hives, so your measurements will differ if you’re using 10 frame hives. I cut the lumber to <enter dimensions> and then drill a few holes on the long ends (see pictures). I then nail the four pieces together to form a square – a frame really. I then paint the outsides of the frame and let dry.
When dry, I move the frame over to my workbench and using old 3/4″ pieces of wood I have laying around I place these inside the frame. This give me something to set the burlap on while raising the burlap up about 3/4″ – you’ll notice these in several of the pictures. They don’t need to be nailed or glued. Just placed inside the frame close to the edges.
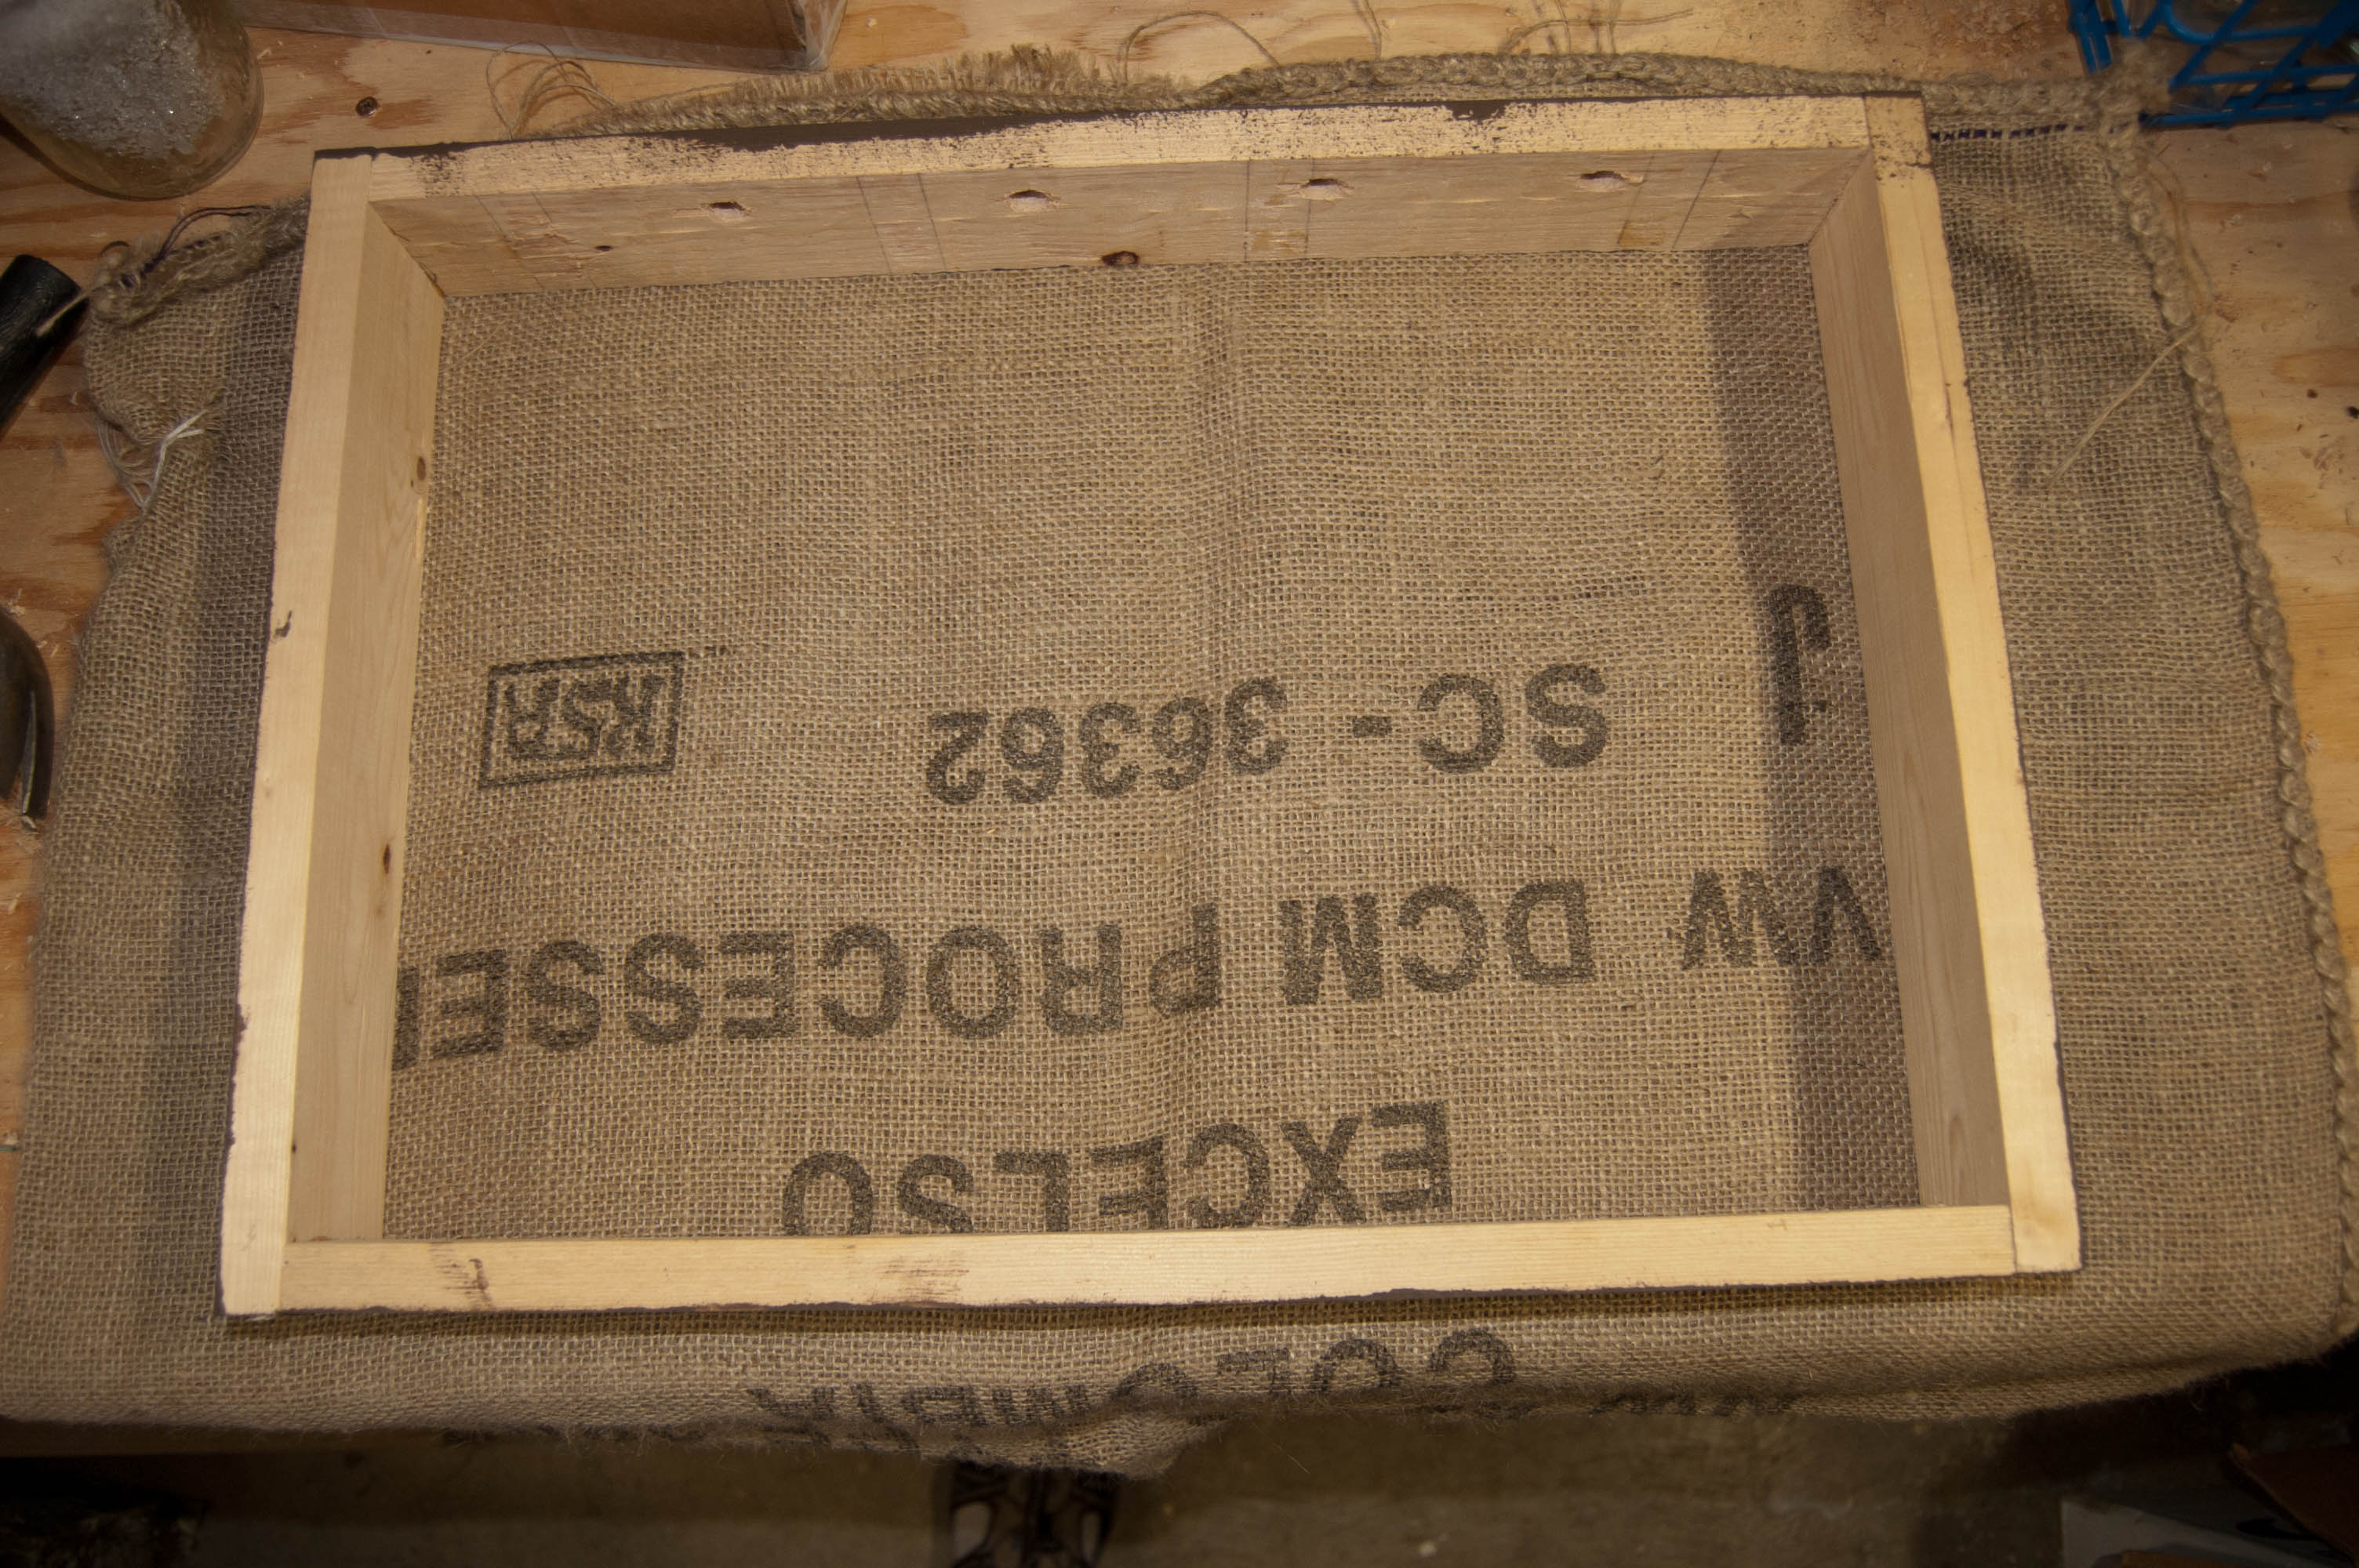
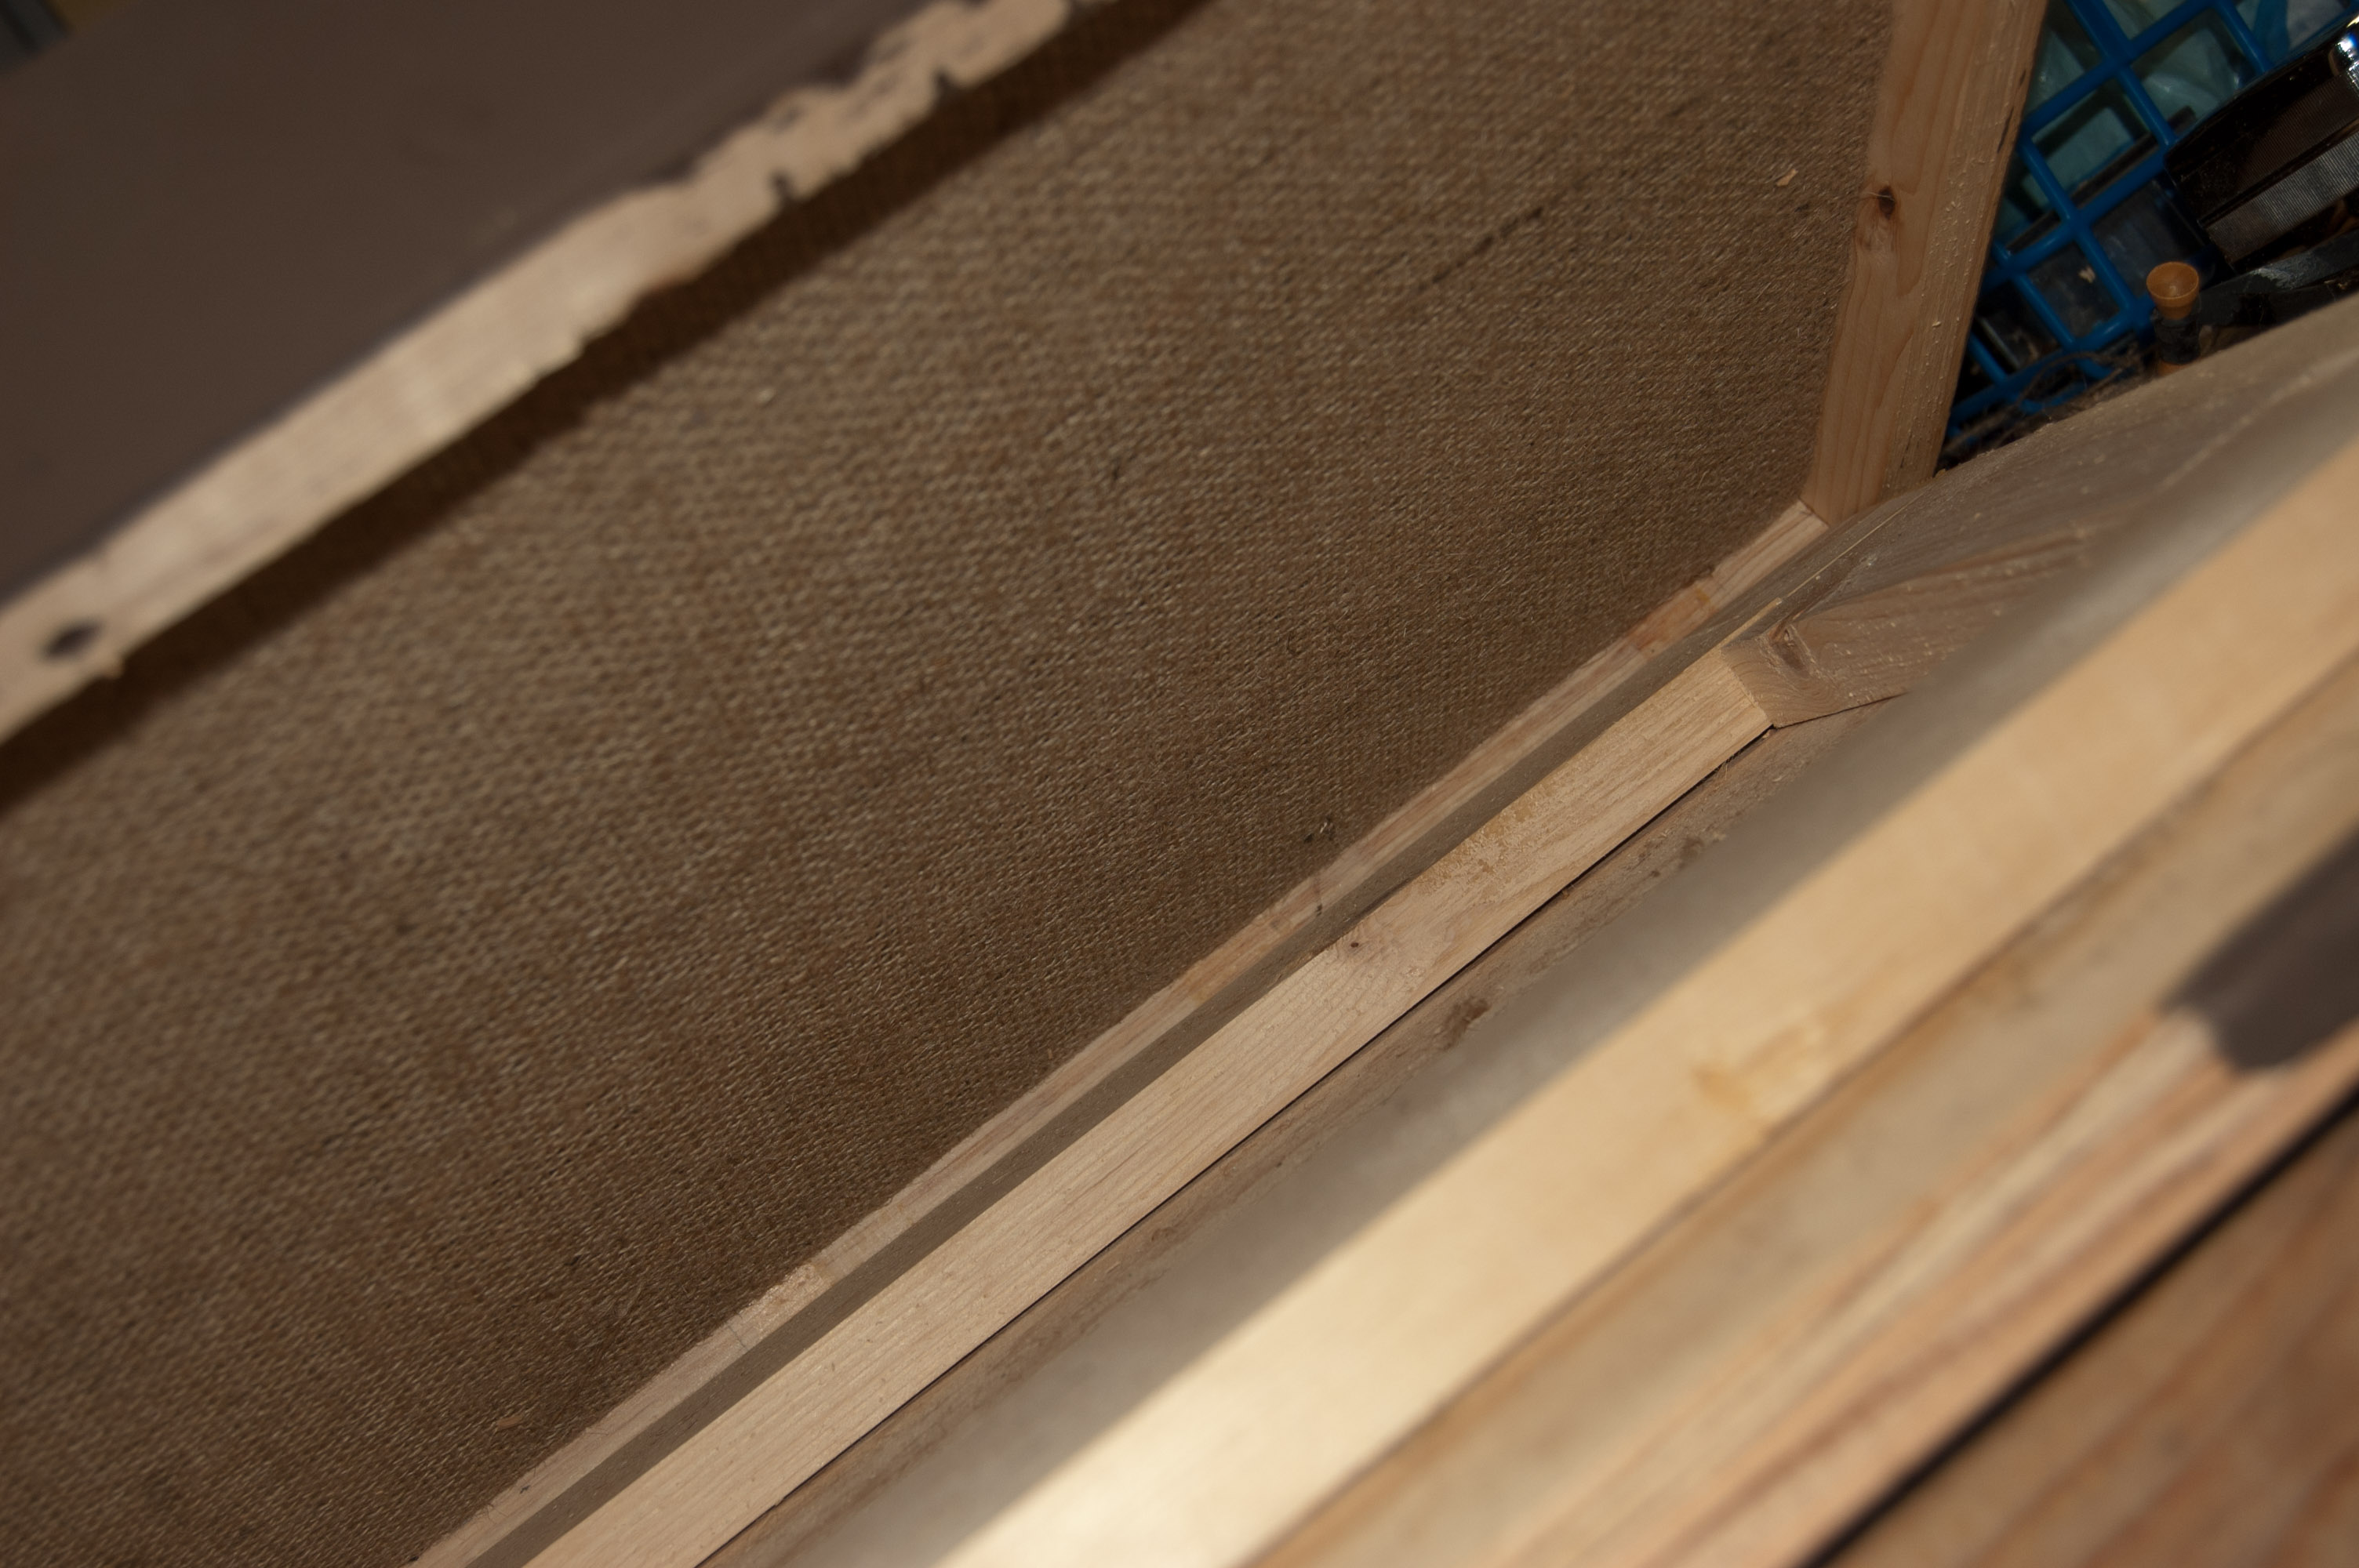
Using thin pieces of wood I now staple the (staple) strips and burlap …the first strip of wood isn’t so important but the remaining three sides need to be tight ..the Bee Vlog video shows how to do this quite well.

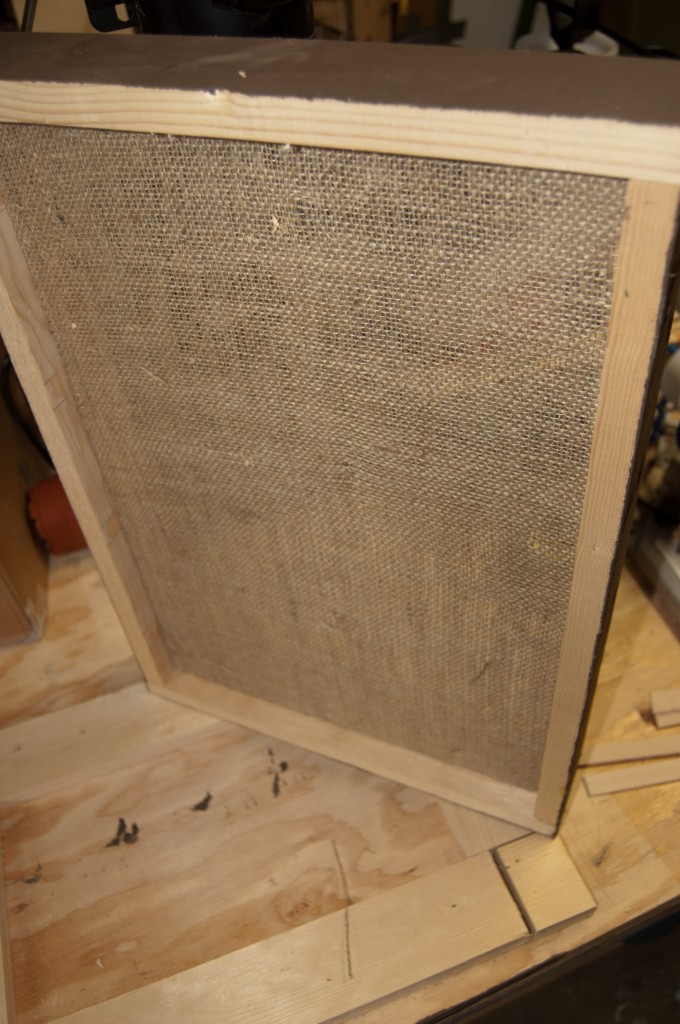
Once all four sides are stapled in and everything is tight, I add the screen to cover the vent holes …this keeps spiders and other crawlies from entering the quilt box.
- Bottom of moisture quilt box
Top of moisture quilt box

Now remove inner cover on hive, place your new quilt board on the hive and then add wood chips or other moisture absorbing material. Replace the top cover and you’re done. Some people use the inner cover but I don’t see it being needed.